Hotend & Nozzle Replacement
Model-specific guides for replacing your complete hotend assembly.
How do I replace the hotend on my Bambu printer?
Unload filament, let the hotend cool below 60°C. On X1C and A1: press the quick-release latch. On P1S/P1P: loosen two H2.0 screws. After inserting the new hotend, always run a full calibration.
Bambu uses complete hotend assemblies, nozzle, heater, thermistor, and heat break as one unit. Mount type differs by model.
| Printer | Mount type | Tool needed |
|---|---|---|
| X1 Carbon | Quick-release latch | None (tool-free) |
| P1S / P1P | Screw-mounted | H2.0 hex key |
| A1 | Quick-release mechanism | None (tool-free) |
| A1 Mini | Quick-release mechanism | None (tool-free) |
| Type | Sizes | Best for |
|---|---|---|
| Stainless steel (standard) | 0.4mm | PLA, PETG, TPU, ABS |
| Hardened steel | 0.4, 0.6, 0.8mm | CF, GF, abrasive filaments |
| 0.6mm nozzle | 0.6mm | Faster prints, functional parts |
| 0.8mm nozzle | 0.8mm | Draft prints, large objects |
| 0.2mm nozzle | 0.2mm | Ultra-fine detail, miniatures |
- Inconsistent extrusion: Lines varying in width despite good calibration
- Visible nozzle wear: Tip is scratched, flattened, or has visible grooves
- After abrasive filaments: Carbon fiber (CF), glass fiber (GF), and glow-in-the-dark materials wear brass nozzles quickly
- Persistent clogs: After cold pulls fail to clear the blockage
- Switching nozzle sizes: 0.4mm to 0.6mm or 0.8mm for different print requirements
The X1C has the easiest hotend swap of any Bambu printer.
- Unload filament via touchscreen (Settings ? Filament ? Unload). Wait for full retraction.
- Allow nozzle to cool to below 60°C
- Locate the metal latch on the front of the print head. Press or swing it outward to release.
- Pull the hotend straight down and out
- Insert the new hotend and push up until it clicks into place
- Verify the latch re-engages fully
- Run auto-calibration after replacement
- Unload filament and let the hotend cool below 60°C
- Open the printer panels for access
- Locate the two H2.0 hex screws securing the hotend to the print head carriage
- Loosen (do not fully remove) both screws
- Slide the hotend down and out of the carriage mount
- Disconnect the hotend cable connector (small white plug)
- Connect the new hotend cable, slide into the mount, tighten screws
- Do not overtighten; snug is enough
- Run auto-calibration after replacement
- Unload filament and let the hotend cool below 60°C
- Press the release button/lever on the print head
- Pull the hotend assembly out
- Insert the new hotend until it clicks
- Verify firm seating
- Run calibration after replacement
- Auto bed leveling (the new hotend will have a slightly different effective length)
- First layer inspection print to verify Z-offset
- Flow calibration if you switched nozzle sizes
Print a small test object first before committing to a long print. Hotend connections occasionally need reseating if the first few prints show extrusion inconsistencies.
| Material | Wears brass? |
|---|---|
| PLA, PETG, ABS | No, standard OK |
| TPU | No, standard OK |
| Glow-in-dark | Yes, get hardened |
| Carbon fiber fills | Yes, get hardened |
| Glass fiber fills | Yes, get hardened |
| Metal fills | Yes, get hardened |
Let the hotend cool to below 60°C before handling.
Bambu original or compatible hardened steel for abrasive filaments.
Our PicksNeed gear? Our tested picks · All accessories
Tools for this job
Everything you need for a clean hotend swap.
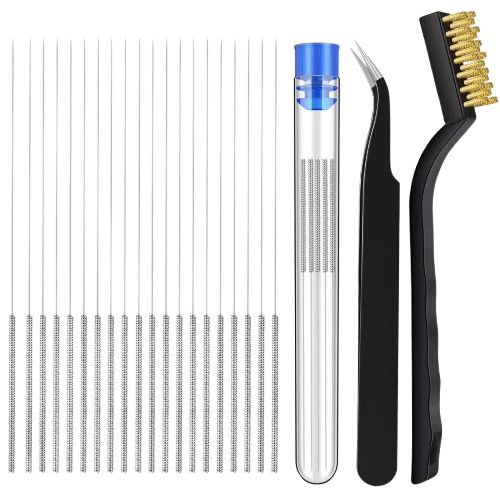
Try a needle and cold pull first: many suspected dead nozzles are just clogged, which this kit clears in minutes.
Amazon →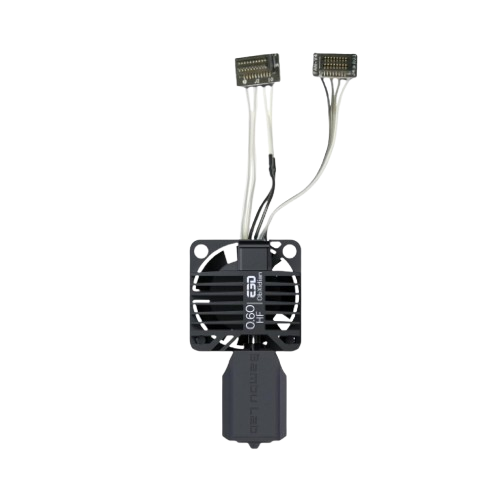
Hardened 0.6mm high-flow replacement for the P1P and P1S. Handles the abrasive CF/GF filaments that wear out stock steel.
Amazon →Hardened steel 0.4mm nozzles for the A1 and A1 Mini quick-swap system, so a fresh spare is always on hand.
Amazon →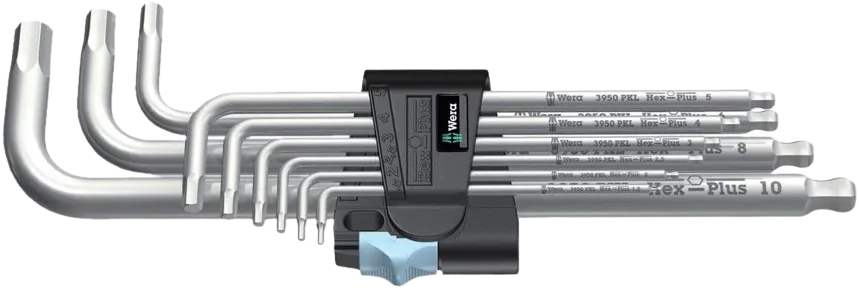
Quality hex keys for the two M3 screws on X1/P1 hotends; cheap keys strip these small heads fast.
Amazon →Affiliate links. We may earn a small commission at no extra cost to you.