Bambu Studio 2.7: Texture-to-Color Painting Explained
Published · Bambu Studio basics →
Short version
Bambu Studio 2.7 (reported as 2.7.0 Beta, then 2.7.1 Stable, as of the May 2026 release notes) adds texture-to-color painting, which turns a textured model into a colored one automatically instead of you painting every region by hand. It also adds gradient color curves for smooth color transitions and better mesh defect diagnosis so broken models are easier to spot and fix. The headline win is for multi-color and multi-material printing.
What is Bambu Studio 2.7
Bambu Studio is the free slicer Bambu Lab ships for its printers. Version 2.7 arrived as a 2.7.0 Beta and then a 2.7.1 Stable release (version numbers as of the May 2026 Bambu Studio release notes; check the in-app updater for the exact current build). The theme of the update is color: making multi-color models faster to prepare and smoother to print, plus tightening up the model-repair tooling that multi-color work leans on. If you are new to the slicer, start with our Bambu Studio basics guide, then come back here.
Texture-to-color painting
This is the flagship feature. Many models come with a texture (an image mapped onto the surface that defines its detailed appearance), but the geometry itself carries no color information a slicer can use. Historically, to print such a model in color you had to hand-paint each region in the color-painting tool, matching the texture by eye. That is slow and error-prone on anything detailed.
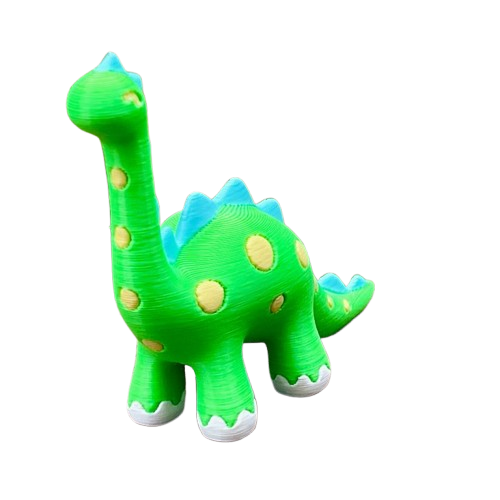
Texture-to-color reads the model's texture and converts it into printable color regions automatically. In short: the appearance baked into the texture becomes actual multi-color print instructions, mapped to your loaded filaments, without manual painting. For textured models (figurines, relief plaques, anything with a surface image), this collapses a long manual step into a near-automatic one.
Why it matters: the biggest friction in multi-color printing has always been prep time, not the printing itself. Automating the texture-to-color step removes a chunk of that friction and makes detailed color models practical for people who would not have sat through the manual painting.
Gradient color curves
The second addition is gradient color curves, which give you control over smooth transitions between colors rather than hard boundaries. Instead of one filament stopping and the next starting at a fixed line, you can define how colors blend across a region. This is useful for effects like fades, ombre surfaces, and layered blends that would otherwise require careful manual segmentation.
Combined with texture-to-color, the two features cover both ends of color work: automatic conversion of detailed textures, and fine manual control where you want a designed gradient.
Better mesh defect diagnosis
The update also improves mesh defect diagnosis. Multi-color and multi-material slicing is less forgiving of broken geometry than a plain single-color print, because color regions and material boundaries depend on a clean, watertight mesh. Non-manifold edges, holes, and flipped normals can produce visible slicing errors.
The improved diagnosis makes these defects easier to detect and locate before you print, so you can repair the model (or run it through the slicer's repair tooling) instead of discovering the problem partway through a multi-hour color print. For anyone importing models from mixed sources, this is a quiet but real time-saver.
Who benefits most
- Multi-color printers with an AMS. Texture-to-color and gradient curves are aimed squarely at multi-filament setups. See our multi-color printing techniques guide for how to get the most out of them.
- Anyone printing textured or detailed models. The automatic conversion removes the single most tedious prep step.
- Users importing third-party models. Better mesh diagnosis catches geometry problems before they waste a print.
The update is free for all Bambu Lab printer owners. As with any slicer update, keep the previous stable version handy until you have confirmed your regular projects slice correctly on the new build.